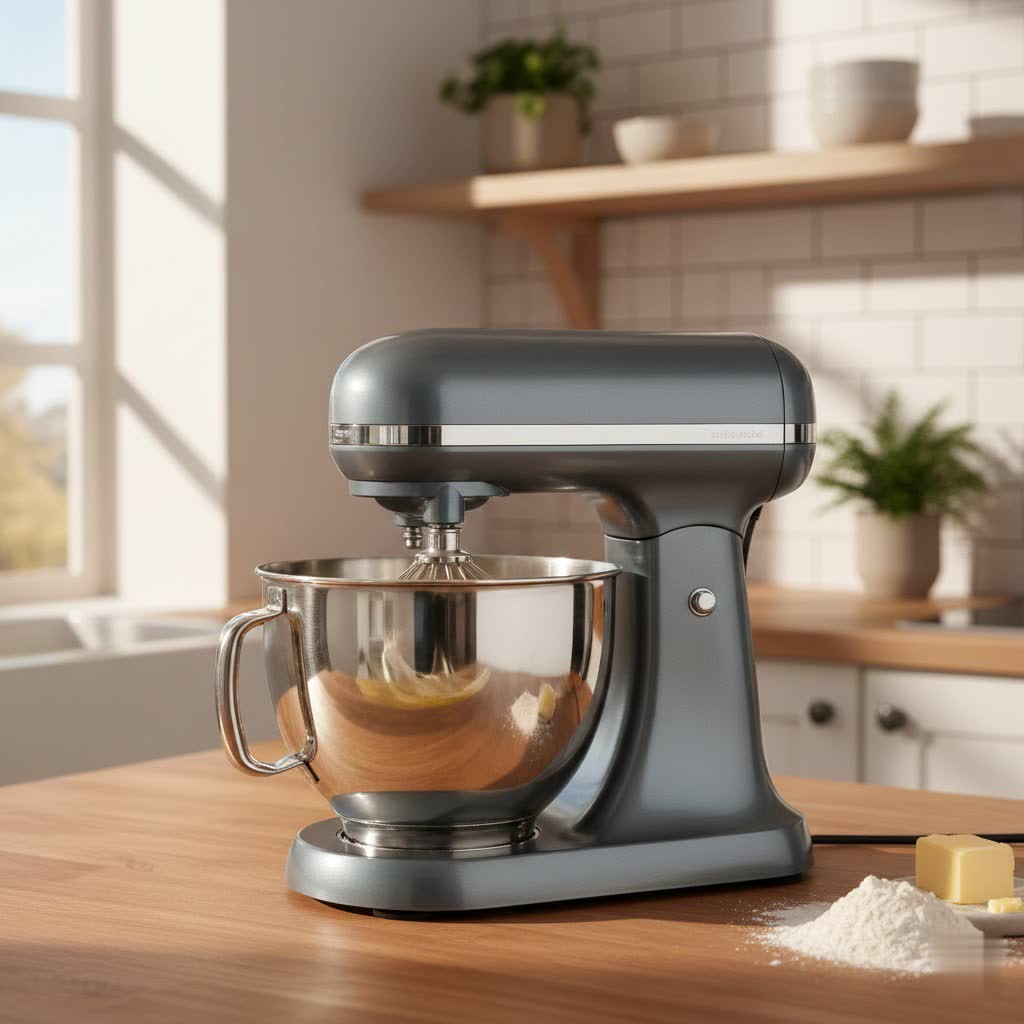
Your stand mixer is a workhorse in the kitchen, a reliable partner for everything from airy meringues to dense bread doughs. But with great culinary power comes great mess. Flour dust finds its way into every crevice, sticky dough hardens in unexpected places, and splatters create a mosaic of past projects. While a quick wipe-down after each use is good practice, truly messy baking adventures demand a thorough deep clean to keep your appliance hygienic, functional, and looking pristine. Let’s dive into how to meticulously clean your stand mixer, ensuring it’s ready for its next challenge.
1. Safety First: Preparing for a Deep Clean
Before you begin any cleaning, safety is paramount. Always unplug your stand mixer from the power outlet. This eliminates any risk of accidental activation or electrical shock, allowing you to clean every part with confidence. Once unplugged, gather your cleaning arsenal: mild dish soap, warm water, a few soft cloths or microfiber towels, a small brush (an old toothbrush works wonders for tight spots), cotton swabs, baking soda, and white vinegar. For truly stubborn grime, a gentle all-purpose cleaner like Simple Green or diluted isopropyl alcohol can be helpful, but always apply these to a cloth, not directly to the mixer.
2. Tackling Removable Parts: Bowl and Attachments
The mixing bowl and attachments bear the brunt of every baking task, so they require careful attention.
- Mixing Bowl: Most stainless steel and glass mixing bowls are dishwasher safe. For heavily crusted bowls, a pre-soak in hot, soapy water can work wonders. If your bowl has water spots or blemishes, a dedicated stainless steel cleaner can restore its shine.
- Attachments: This is where understanding your materials is crucial.
- Dishwasher Safe: Coated beaters, stainless steel dough hooks, and pouring shields are generally safe for the top rack of your dishwasher.
- Hand-Wash Only: Wire whips and burnished aluminum attachments (which often appear dull grey, like many standard flat beaters and dough hooks) should always be hand-washed. Use hot, soapy water, rinse thoroughly, and dry immediately with a clean towel. Placing these in the dishwasher can cause oxidation, leading to a dark, powdery residue that can transfer to your food or hands.
- Treating Oxidized Aluminum: If you’ve accidentally put burnished aluminum attachments in the dishwasher and they now leave black marks, you can often remedy this. Boil the attachment in a pot with water and two cups of white vinegar for about 20 minutes. Then, wipe it down with a clean, dry rag. This process helps to remove the oxidation.
- Attachment Pin and Spring: Don’t forget the small pin and spring on the beater shaft where the attachments connect. Food particles can accumulate here, making it difficult to attach accessories. Clean this area with a damp cloth or a small brush. If attachments are stiff, a tiny drop of cooking oil can help lubricate the pin.
3. Deep Cleaning the Stand Mixer Body and Motor Head
The mixer’s main body, particularly around the motor head, is prone to accumulating flour, batter, and grease.
- Exterior Wipe-Down: Start by wiping down the entire exterior of your mixer with a soft, damp cloth. For tougher spots, add a mild dish soap to the water, or spray a mild all-purpose cleaner onto the cloth (never directly onto the mixer) and wipe. Always work from top to bottom.
- Focus on Crevices and Crannies:
- Speed Control and Locking Lever: Ingredients love to hide around the speed control knob and the motor head locking lever. Use a cotton swab dampened with cleaner to meticulously clean these intricate areas.
- Attachment Hub: This front-facing hub often gathers dust and dried food. If your mixer has a removable plate on the hub, unscrew it and wipe the interior thoroughly. Otherwise, use a cotton swab to clean inside the opening.
- Under the Motor Head and Beater Shaft: Tilt the mixer head back and lock it in place to expose the beater shaft and the surrounding lipped area. This is a common spot for splatters. Use a small brush or a paper towel to scrub away dried flour and batter from the shaft and the clip that holds the attachments. Pay attention to any exposed screws or rims where grime can collect.
- Bowl Clamping Plate: The plate where your bowl locks into place can also gather residue. Scrub this area with a small brush and a damp cloth.
- Ventilation Shaft: Located at the back of the motor head, these vents are crucial for proper air circulation. Use a toothpick, a specialized brush, or even a soft-bristled toothbrush to gently remove any accumulated crumbs or dust. Keeping these clear ensures optimal mixer performance and longevity.
- Underside of the Base: Don’t overlook the base! Lay your mixer on its side and wipe down the underside. Check for any drips that might have seeped underneath, as these can lead to rust. Clean the appliance’s footpads with a small brush or paper towel and cleanser.
- Stubborn Grime Solutions: For dried, caked-on messes, a paste made of baking soda and a little water can be incredibly effective. Apply the paste, let it sit for a few minutes, then scrub gently with a small brush. For greasy build-up, some experts suggest using ammonia (with proper ventilation) or specific degreasers, always applied to a cloth. For the main body, some find a mixture of equal parts water, rubbing alcohol, and a tablespoon of white vinegar in a spray bottle (applied to a cloth) to be a good non-rinse cleaner for the exterior, especially useful for oily films without leaving residue.
4. Post-Cleaning Care and Maintenance Tips
Once every part of your stand mixer is sparkling clean, ensure everything is thoroughly dry before reassembling or storing. Moisture can lead to corrosion or electrical issues. A key to preventing intense deep cleaning sessions is establishing a routine of quick cleaning after every use. A simple wipe-down of the main body and immediate hand-washing of attachments after each baking session will dramatically reduce future build-up. Store your mixer in a clean, dry place, perhaps covered with a kitchen appliance cover, to protect it from dust and kitchen grease.
“A well-maintained stand mixer isn’t just about aesthetics; it’s about preserving performance and food safety. Ignoring hidden grime can lead to unpleasant surprises in your next recipe or even shorten the life of your beloved appliance.”
Conclusion
Deep cleaning your stand mixer after particularly messy culinary endeavors is a small investment of time that pays off significantly. By systematically cleaning each component—from the mixing bowl and attachments to the intricate crevices of the motor head and even the ventilation shafts—you not only ensure hygienic food preparation but also extend the life and maintain the pristine appearance of your kitchen companion. So, take pride in that spotless machine, knowing it’s ready to whip up magic again! What’s the messiest baking project you’ve ever tackled with your stand mixer?
Frequently Asked Questions
Is it safe to put my stand mixer attachments in the dishwasher?
|
Our Picks for the Best Stand mixer in 2026
As an Amazon Associate I earn from qualifying purchases.
|
||
| Num | Product | Action |
|---|---|---|
| 1 | Kitchen in the box Stand Mixer,3.2Qt Small Electric Food Mixer,6 Speeds Portable Lightweight Kitchen Mixer for Daily Use with Egg Whisk,Dough Hook,Flat Beater (Black) |

|
| 2 | Stand Mixer, Kitchen in the box 3.2Qt Small Electric Food Mixer,6 Speeds Portable Lightweight Kitchen Mixer for Daily Use with Egg Whisk,Dough Hook,Flat Beater (Purple) |
|
| 3 | Camic Stand Mixer, 4.2QT+5.3QT Two bowls Electric Food Mixer, 10 Speeds with Digital setting 3-IN-1 Kitchen Mixer for Baking Cakes Cookie Bread Salad with Egg Whisk,Dough Hook,Flat Beater (Black) |
|
| 4 | Hamilton Beach Electric Stand Mixer, 4 Quarts, Dough Hook, Flat Beater Attachments, Splash Guard 7 Speeds with Whisk, Black |
|
| 5 | KitchenAid Classic Series 4.5 Quart Tilt-Head Stand Mixer K45SS, White |
|
| 6 | KitchenAid Classic Series 4.5 Quart Tilt-Head Stand Mixer K45SS, Onyx Black |
|
| 7 | Stand Mixer Body with Stainless Steel Cladding Pro-Grade Powerful Kitchen Mixer for Baking Bread Dough Cake 10+p Speed Tilt-Head Electric Food Mixer With 6.5QT Bowl Dough Hook Wire Whisk Flat Beater |
|
| 8 | Hamilton Beach Electric Stand Mixer, 4 Quarts, Dough Hook, Flat Beater Attachments, Splash Guard, 7 Speeds with Whisk, Easy-Carry Top Handle, Red |
|
| 9 | Martha Stewart Tilt-Head Stand Mixer, 12 Speed, 5.3QT Stainless Steel Bowl, Splash Guard with Pour Chute, Whisk, Dough Hook, Flat Beater, Electric Kitchen Baking Mixer, Bread, Cake, Whip, Linen White |
|
| 10 | KitchenAid Artisan Series 5 Quart Tilt Head Stand Mixer, KSM150PS, Juniper |
|
Only coated and stainless steel attachments are typically dishwasher safe. Burnished aluminum attachments (often dull gray) should always be hand-washed to prevent oxidation, which can result in a dark, powdery residue. Always check your mixer’s manual for specific care instructions.
How can I remove the black residue from my aluminum stand mixer attachments?
If your aluminum attachments have oxidized and are leaving a black residue, you can try boiling them in a pot of water with about two cups of white vinegar for approximately 20 minutes. After boiling, carefully remove and wipe them down thoroughly with a clean cloth.
What should I avoid when cleaning my stand mixer?
Never submerge the main body of your stand mixer in water, and avoid spraying liquids directly onto the appliance, especially near ventilation ports, knobs, or levers, as this can damage the motor and electrical components. Also, avoid harsh abrasive cleaners on painted or delicate surfaces.
How often should I deep clean my stand mixer?
While a quick wipe-down is recommended after every use, a deep clean is advisable after particularly messy or heavy baking sessions, or at least every few weeks to once a month, depending on how frequently you use your mixer. Regular deep cleaning prevents stubborn build-up and maintains optimal performance.