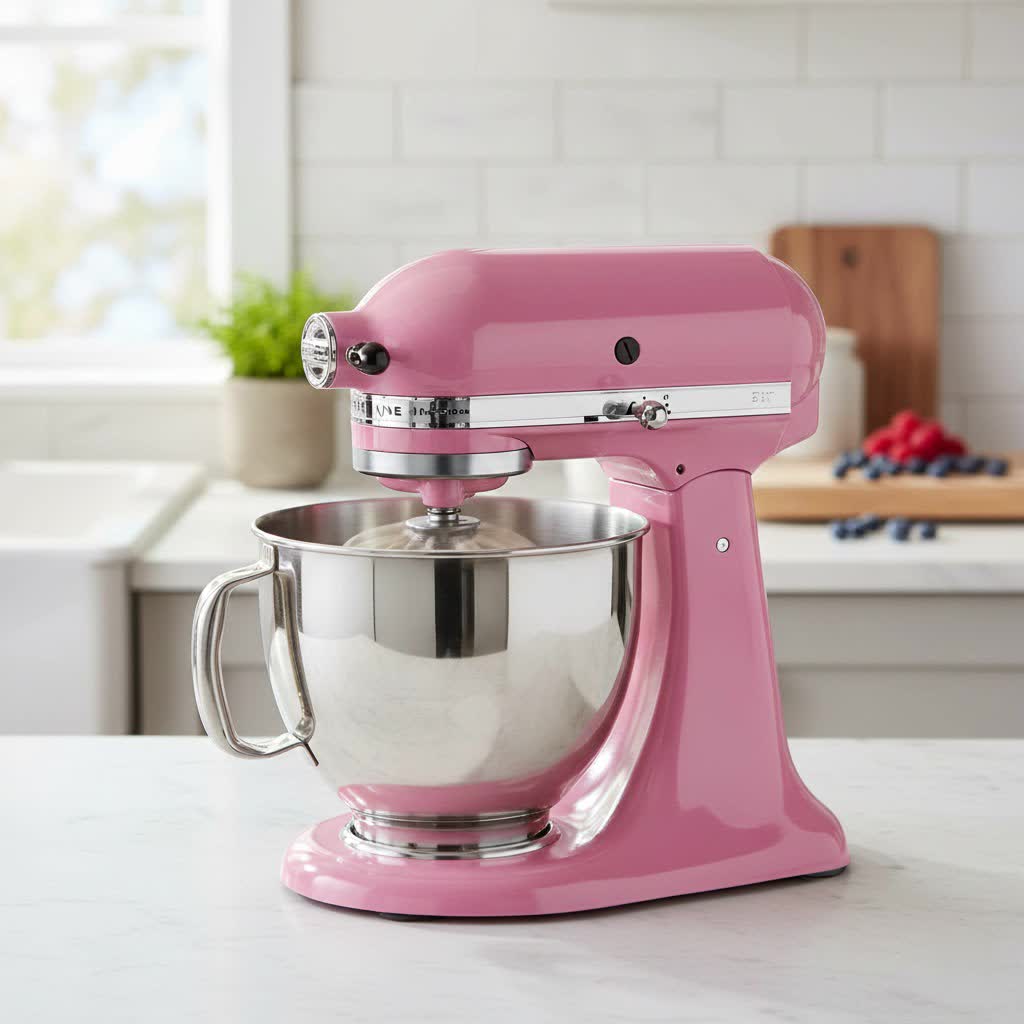
Your stand mixer is a culinary workhorse, tirelessly kneading dough, whipping creams, and mixing batters. But like any high-performance appliance, it thrives on regular care. Over time, the internal gears of your stand mixer, especially models like KitchenAid, can experience wear, leading to frustrating issues such as noise, stiffness, or even oil leaks. Addressing these problems with a DIY maintenance and re-greasing routine can significantly extend your mixer’s lifespan and restore its smooth, quiet operation. This guide will walk you through the essential steps to keep your stand mixer running efficiently for years to come, turning potential repairs into simple, empowering home projects.
Understanding Your Stand Mixer’s Internal System
Inside your stand mixer lies a complex yet robust gear system, typically housed within a gearbox. This system relies on a specialized lubricant to function optimally.
What is the Role of Grease in a Stand Mixer?
The grease within your stand mixer’s gearbox performs several critical functions:
- Lubrication: It ensures the gears move smoothly against each other, reducing friction and preventing metal-on-metal contact.
- Heat Reduction: By minimizing friction, the grease helps dissipate heat generated during operation, protecting internal components from thermal stress.
- Wear Protection: A healthy coating of grease acts as a protective barrier, guarding metal parts against premature wear and tear.
- Noise Dampening: The viscous nature of the grease helps to cushion the gears, significantly dampening the operational noise of the mixer.
Without adequate or fresh grease, your mixer’s performance can degrade rapidly, leading to more serious and costly mechanical failures down the line.
Common Signs Your Stand Mixer Needs Regreasing
Recognizing the symptoms of depleted or degraded grease is key to timely maintenance. Look out for these common indicators:
- Leaking Oil/Grease: Often the most obvious sign, you might notice oily residue dripping from the planetary head (where attachments connect) or other parts of the mixer. This happens when the grease breaks down into a thinner oil over time, especially with heavy use.
- Increased Noise: If your mixer sounds louder or produces unusual grinding, clunking, or whining noises, it’s a strong indication that the gears are no longer adequately lubricated.
- Stiff or Sluggish Operation: The mixer’s head might feel stiff when tilting, or the attachments may rotate with less fluidity and power than usual.
- Reduced Efficiency: You might find your mixer struggling with tasks it once handled easily, suggesting increased friction within the gear system.
“A common misconception is that a leaking mixer needs new seals. Often, the grease has simply separated and turned into oil, which then escapes. Regreasing typically resolves this.”
How Often Should You Grease Your Stand Mixer?
The frequency of regreasing depends largely on usage. While some experts suggest a check-up every few years for typical home use, high-volume users might benefit from annual inspection and re-greasing. KitchenAid, a popular brand, suggests changing the grease once a year, particularly if the machine sees frequent use. If you observe any of the signs mentioned above, it’s time for maintenance regardless of how long it’s been.
Essential Tools and Materials for the Job
Before you begin, gather all the necessary tools and supplies. Having everything at hand will make the process smoother and more efficient.
List of Necessary Tools
- Screwdrivers: A Philips head screwdriver is typically required for most screws. A flathead screwdriver may be useful for prying or specific fasteners.
- Plastic Scraper or Putty Knife: Essential for scraping out old, hardened grease without damaging delicate internal components.
- Clean Rags or Paper Towels: You’ll need plenty for wiping away old grease and cleaning parts. This can be a messy job!
- Small Brush or Toothbrush: Perfect for reaching into tight crevices of the gears to remove stubborn residue.
- Rubber Mallet (Optional but helpful): May be needed to gently tap components during disassembly or reassembly.
- 1/8-inch Punch (for some models): Used to remove retaining pins, particularly on the planetary assembly of tilt-head mixers.
- Ring Pliers (for some models): Some mixers might have tension retaining rings that require this specialized tool.
- Food-Safe Degreaser (Optional): For a truly deep clean, a food-safe degreaser like pure D-limonene solvent can be used to break down very old or solidified grease.
Choosing the Right Food-Grade Grease
This is perhaps the most crucial material. You must use food-grade grease to ensure safety, as your mixer handles food.
- Types: Look for H1-rated food-grade grease, which is considered the safest for incidental food contact. While some older KitchenAid models used H2 grease, current recommendations lean towards H1 for maximum safety.
- Where to Buy: Genuine KitchenAid/Whirlpool gear grease is available (part numbers like W4176597 or W11200218). Other reputable brands like Super Lube 41160/UV Synthetic UV Grease are also excellent alternatives. Ensure it is specifically formulated for kitchen appliances and clearly labeled food-grade. Using the wrong type of grease can damage your mixer and pose health risks.
Other Helpful Supplies
- Protective Gloves: To keep your hands clean during the messy process.
- Small Containers: For organizing screws and small parts during disassembly.
- Work Mat or Old Towels: To protect your work surface from grease.
- Replacement Gasket (if needed): If the existing gasket is torn or worn, having a replacement on hand is wise.
Step-by-Step Guide to Disassembling Your Stand Mixer
Safety First: Always unplug your stand mixer from the power outlet before beginning any maintenance. This prevents accidental activation and potential injury. Clear a spacious, well-lit workspace.
Removing the Outer Casing and Top Housing
- Unplug and Prepare: Ensure the mixer is unplugged. Place it on a clean, stable surface, preferably on a towel or work mat.
- Remove Rear Cover/Trim: Depending on your model, you’ll typically start by removing the rear cover. This usually involves a few screws.
- Remove Top Housing Screws: Locate and remove the screws holding the top housing in place. Keep these organized as they might differ in size from other screws.
- Remove Drip Ring (if applicable): For many tilt-head models, a drip ring might be present around the planetary shaft. This can usually be pried off gently with a flathead screwdriver and a rubber mallet. Clean any accumulated oil or debris from this area.
Accessing the Gearbox: The Planetary and Worm Gears
- Remove Planetary Assembly: This is often the most intricate step.
- You may need to remove a retaining pin using a 1/8-inch punch and a rubber mallet.
- Rotate the planetary head to access the pin from both sides if it’s stubborn.
- Once the pin is out, the planetary assembly (the part where attachments connect) can be carefully removed.
- Open the Gearbox: With the outer components removed, you’ll see the gearbox. It’s typically held together by several screws. Carefully remove these screws and separate the gearbox halves.
Cleaning and Inspecting the Gears
This is where you address the root cause of many mixer problems.
Scraping and Wiping Away Old Grease
- Scrape and Remove: Using your plastic scraper or putty knife, meticulously scrape out as much of the old, hardened, or degraded grease as possible from the gearbox housing and off the gears.
- Wipe Down: Use clean rags or paper towels to wipe down the gears and the inside of the gearbox. This process can be quite messy.
- Detailed Cleaning: For stubborn grease or residue in tight spaces, use a small brush or old toothbrush. Be thorough, ensuring all old grease, especially any solid chunks or discoloration, is removed.
Thorough Cleaning of Components
If the grease is heavily contaminated or very old, a full degreasing might be beneficial.
- Degreaser Application (Optional): Apply a food-safe degreaser to the metal components, allowing it to work according to product instructions. Then, thoroughly clean and dry all parts. Ensure no degreaser residue remains before applying new grease.
Inspecting Gears for Wear, Damage, or Metal Shavings
As you clean, carefully inspect each gear:
- Look for Wear: Check for any signs of wear, such as flattened teeth or an uneven appearance.
- Identify Damage: Search for cracked, chipped, or missing gear teeth. This is crucial as damaged gears will continue to cause problems even with new grease.
- Check for Metal Shavings: The presence of silver-colored metal shavings mixed in with the old grease is a clear indicator of significant gear wear or damage. If you find these, it’s a strong recommendation to replace the affected gears. Applying new grease without addressing damaged gears is like putting a band-aid on a broken bone.
If you find damaged gears, note their position and order replacement parts from a reputable supplier.
Applying Fresh Food-Grade Grease
Once everything is thoroughly clean and inspected, it’s time to apply the new grease.
How Much Grease to Apply and Where
- Apply a Base Layer: Start by applying a generous, even layer of food-grade grease to the inside of the gearbox housing.
- Coat Gears Individually: Reassemble the gears one by one, ensuring each gear is thoroughly coated with fresh grease. Pay special attention to filling the teeth of each gear.
- Worm Gear and Hub Gear: These are critical components. Apply a healthy layer of grease to both the worm gear and the hub gear, as well as the motor shaft.
- Planetary Gear: For the planetary gear (which drives the attachments), a thinner coat around the gear itself is usually sufficient; avoid piling grease excessively in this area.
- Optimal Coverage: The goal is to ensure all moving parts are lubricated, reducing friction and maximizing efficiency. However, avoid overpacking the gearbox, as excessive grease can also cause issues. The aim is thorough, not overflowing, coverage.
Tips for Proper Lubrication to Ensure Smooth Operation
- Work the Grease In: As you place each gear back, gently rotate it by hand to help the grease distribute evenly into the teeth and contact points.
- Consistency is Key: Use the same type of food-grade grease throughout the process.
- Don’t Rush: Take your time to ensure every component that requires lubrication receives it properly.
Reassembling Your Stand Mixer
Reassembly is essentially the reverse of disassembly, requiring care and attention to detail.
Step-by-Step Reassembly Process
- Close the Gearbox: Carefully align the two halves of the gearbox, ensuring no wires or components are pinched. Reinstall all the gearbox screws and tighten them securely, but do not overtighten.
- Reinstall Planetary Assembly:
- Align the planetary gears carefully.
- Press the planetary assembly back into position. You may need to turn the motor shaft slightly to align the gears as you press.
- Reinsert the retaining pin (if applicable), tapping it gently with a rubber mallet until it’s secure.
- Replace Gasket (if applicable): If you removed or replaced a gasket, ensure it is properly seated before closing the housing.
- Reinstall Top Housing: Place the top housing back onto the mixer, aligning it correctly, and reinstall all the screws.
- Reattach Rear Cover: Secure the rear cover or trim piece.
Ensuring Correct Alignment of Gears and Housing
- Check for Smooth Movement: Before fully tightening all screws, manually rotate the planetary shaft to ensure everything moves freely and smoothly. If you feel resistance or hear grinding, recheck your assembly.
- Tighten Securely: Once confident, tighten all screws firmly. Loose components can lead to vibrations and future problems.
Post-Maintenance Care and Troubleshooting
Your stand mixer is almost ready to get back to work!
First Run After Regreasing
- Plug In: Once fully reassembled, plug your stand mixer back into the power outlet.
- Run Empty: Run the mixer on a medium speed without any attachments or bowl for about 10-15 minutes. This helps to evenly distribute the new grease throughout the gearbox and warm up the components. You might notice a slight “new grease” smell initially, which should dissipate.
- Listen and Observe: Pay attention to any unusual noises or leaks during this initial run. If everything sounds and looks good, your mixer is ready for use.
General Tips for Daily Stand Mixer Maintenance
- Wipe Down After Each Use: Clean the exterior of your mixer with a damp cloth immediately after use to prevent food buildup and staining. Pay attention to crevices around the speed control and attachment hub.
- Clean Attachments and Bowl: Always wash attachments and the mixing bowl thoroughly after each use, drying them completely before storage to prevent rust.
- Inspect and Tighten: Periodically check screws, bolts, and attachment points for looseness. Tighten them as needed.
- Proper Storage: Store your mixer in a cool, dry place. If it lives on the countertop, consider a mixer cover to protect it from dust and splatters.
Addressing Common Issues (e.g., Still Noisy, Oil Leak Persists)
- Still Noisy: If the mixer remains noisy after regreasing, it could indicate worn or damaged gears that need replacement, or an issue with motor bearings. Re-disassemble and inspect the gears more closely.
- Oil Leak Persists: A persistent leak after regreasing might suggest that a gasket wasn’t seated correctly, or there’s a crack in the housing. Ensure the drip ring is clean and properly installed. If the problem continues, it might be time to consult with a professional technician.
- Mixer Runs Weak: If the mixer runs sluggishly after maintenance, ensure all gears are properly aligned and not binding. Also, check that you used the correct type and amount of grease.
Conclusion
Regular maintenance, especially cleaning and regreasing the gears, is vital for the longevity and optimal performance of your stand mixer. By following this DIY guide, you empower yourself to resolve common issues like noise and oil leaks, turning a potentially intimidating repair into a manageable and rewarding task. This proactive approach not only saves you money on professional repairs but also ensures your Stand Mixer remains a reliable companion in your culinary adventures for many years to come. Isn’t it satisfying to know you’ve kept your kitchen essential in top shape with your own hands?
Frequently Asked Questions
Is it really necessary to regrease my stand mixer?
Yes, absolutely. The grease lubricates the internal gears, reduces friction, prevents wear, and dampens noise. Over time, this grease can break down, dry out, or leak, leading to poor performance and potential damage to your mixer. Regular regreasing is crucial for its longevity.
Can I use any grease I have at home?
No, it is critically important to only use food-grade grease specifically designed for kitchen appliances. Using non-food-grade grease can contaminate your food and may not have the correct properties to lubricate the gears effectively, potentially causing more damage to your mixer.
How long does the DIY regreasing process typically take?
For a first-timer, the process can take anywhere from 1.5 to 3 hours, including disassembly, thorough cleaning, regreasing, and reassembly. With practice, experienced individuals might complete it in under an hour.
What if my mixer is still leaking or noisy after regreasing?
If your mixer continues to leak or remains noisy after a thorough regreasing, it might indicate a more significant issue. This could include severely worn or damaged gears requiring replacement, a faulty gasket, or issues with other internal components like motor bearings. In such cases, further inspection or professional repair might be necessary.